Harvesting your cannabis plant will feel like you’ve completed the process successfully, however, you’re not done just yet. Drying and curing are two other processes that need to be done prior to smoking your own home-grown bud.
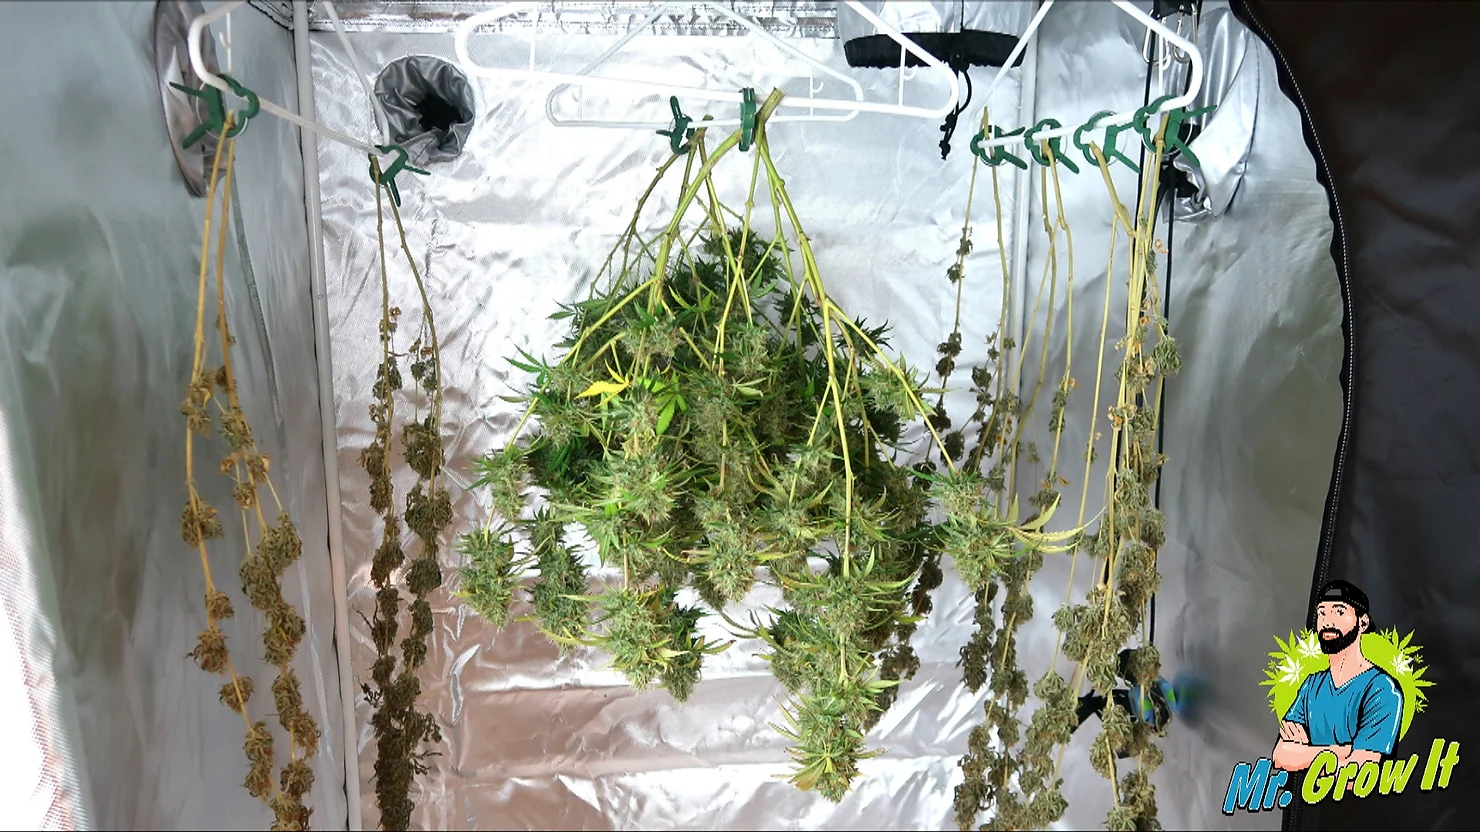
Let’s start with the drying process. On harvest day, most growers will trim off the large fan leaves and even some of the smaller leaves before cutting the plant down. After that, you can either cut the entire plant down at the stalk or cut branches individually. Hang the plant/branches using either wire or coat hangers. Some people like drying racks or trays but I personally like hanging to dry. Hang drying will eliminate you from having to flip buds (like you would need to when using a drying rack) to prevent flattening. The ideal drying conditions are dark, around 70°F/21°C, and a humidity range between 45-55%. Oh, and don’t forget about air circulation. You definitely want good air flow and circulation to prevent mold. Here are the tools/equipment for drying:
Your cannabis plants will now hang there like that for about a week. During this time period, your plants will lose a lot of their moisture content – especially in the first 3 days. Your plant will also greatly change in appearance. Depending on the drying conditions, the drying process could take anywhere from 5 days to 12 days to complete. The higher the humidity in your drying environment, the longer your buds will take to dry. When the buds start to feel a little bit crunchy to the touch, it’s time to move onto the next step. Another indication that your plant is done drying is when the small branches on the plant snap instead of folding when you try to bend them. It’s now time to start the curing process.
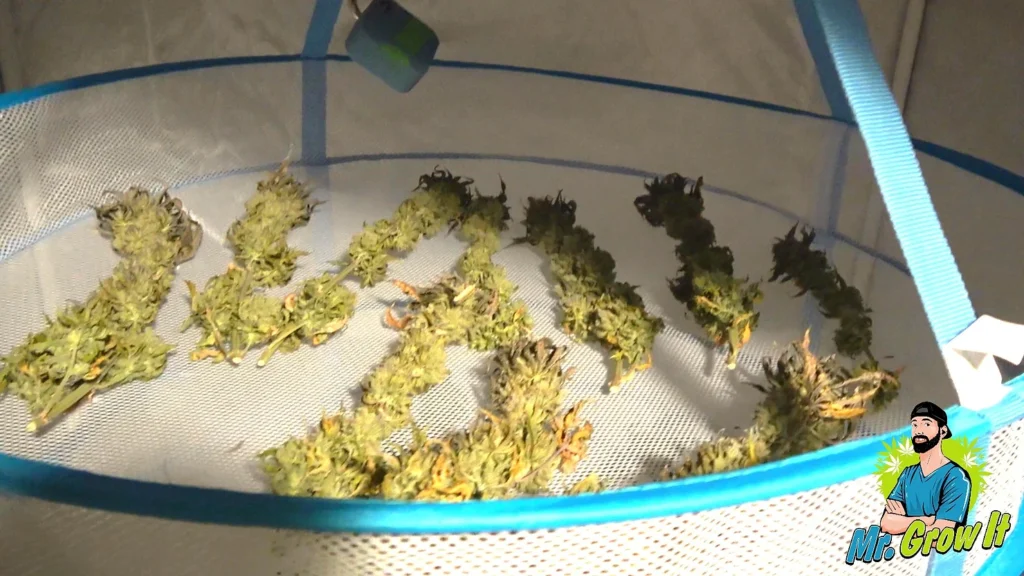
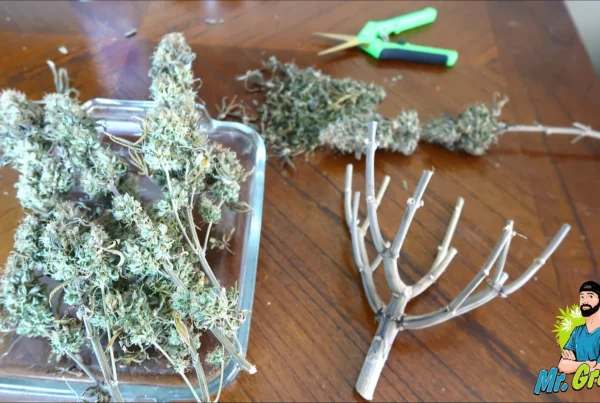
The curing process takes about 2 weeks at the minimum. Curing is the process of preserving and it leads to a smoother, tastier, final product. First, cut the buds off the branches and place them into jars. I highly recommend you get wide-mouth mason jars so you can fit your hand in the jars. Either that, or a CVault container. The jar/container should have a quality, air-tight lid. This is very important. If air can escape the jar then your buds could over-dry. Here are the best containers for curing cannabis:
- CVault Container – 4 Liter
- CVault Container – 8 Liter
- Mason Jars – Wide-Mouth 32oz (fits about an oz of cannabis)
Fill up the jars all the way but don’t stuff your buds in there. Make sure it’s just a little bit lose. The buds are actually still going to shrink quite a bit from here. For the first 3 to 4 days in the jars, open up the lids for about 20 minutes at a time – twice per day. Shake the buds in the jar to loosen them up. The buds shouldn’t stick together. If they do, burp the jars more often. During the first few days, you should notice that every time you open the jars and feel inside, the buds feel re-moisturized. They will dry off a bit again while the lid is off. The process of removing the lid and getting air into the container is called burping. Burping allows moisture to escape and replenishes the oxygen inside the container.
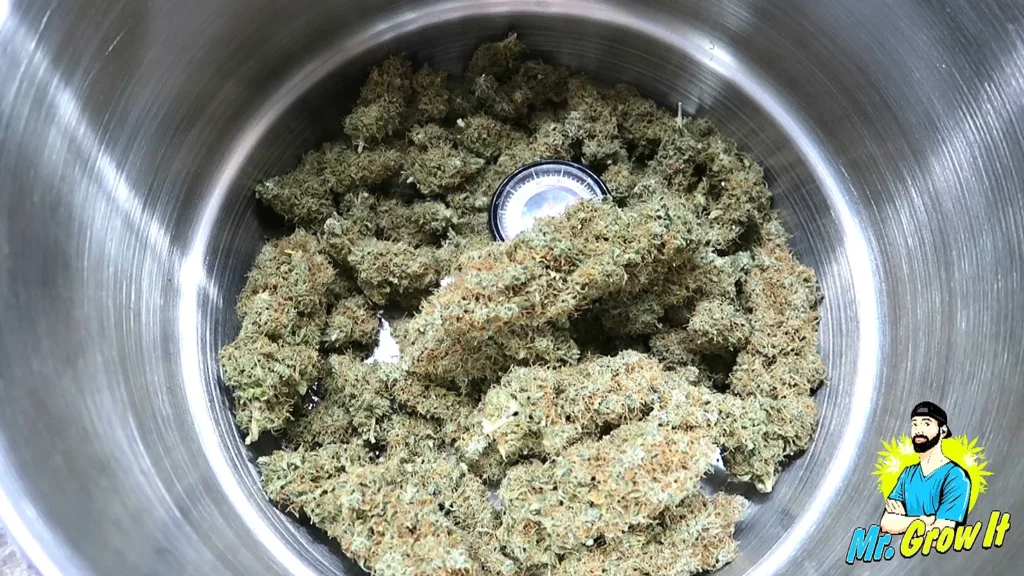
If there is too much moisture in your buds and they smell strange, you should be concerned. This most likely means the buds are too wet in the jar. If you don’t give the buds more air, mold could appear. Take the buds out of the jar and let them dry out in the open again. If you don’t notice any moisture in the buds then you’ve probably over-dried them while they were hanging to dry. After 3 to 4 days, you can reduce the frequency of burping to once per day. Keep burping daily for a couple of weeks and then you’ve completed the curing process. Your cannabis should now have an ideal flavor, smell, and appearance. You can continue to cure your cannabis for years and over-time the flavor and smell will get better and better. There are several different ways to dry and cure cannabis; this is just one method. How do you dry and cure your cannabis plants? Let me know by leaving a comment below.
![]()

